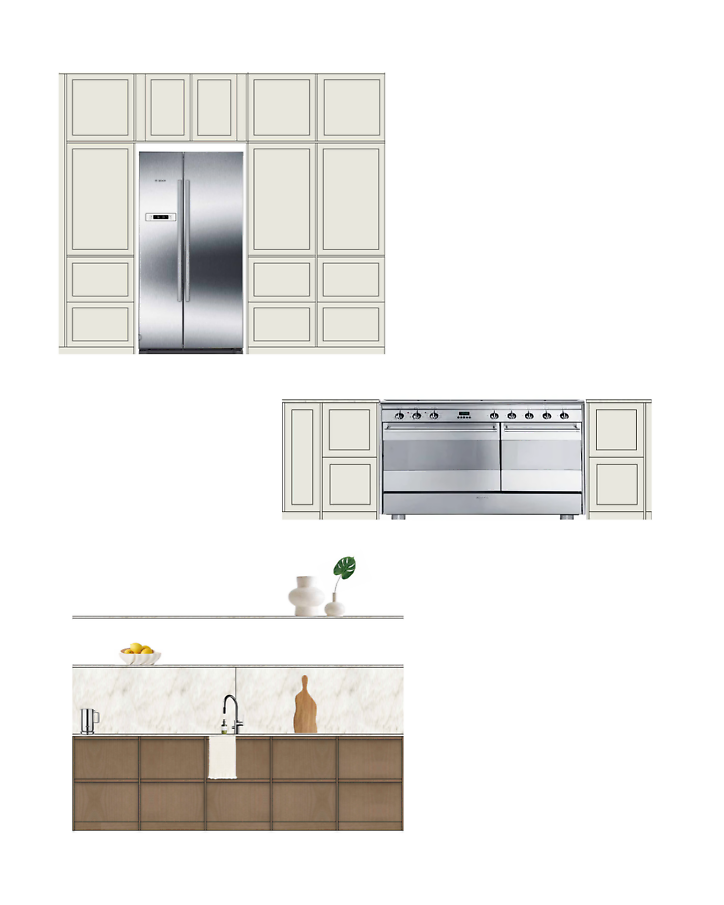
How to Create a Built-In Kitchen Look with Filler Panels
With IKEA METOD as a base and filler panels, fronts and accessories from Superfront, you can create the look of a bespoke kitchen without investing in a fully custom-made solution. In this guide, we explain how filler panels are used, which products you need and how to install them.
.png)
What is a built-in kitchen?
A built-in kitchen is tailored to the dimensions and characteristics of the room, with carefully considered details creating a cohesive and seamless look.
Superfront does not offer bespoke kitchens, but with IKEA METOD as a base and filler panels from Superfront, you can achieve a similar look.
Combined with filler pieces, cover panels, plinths and kitchen fronts, the filler panels help create the look of a bespoke, fitted kitchen.
Which kitchen designs work with filler panels?
Filler panels can be combined with several of our kitchen designs to create different looks. Paired with Plain, they give the kitchen a modern, minimalist feel, while Shaker, with its classic framed profile, creates a more traditional look that also suits country-style kitchens.
Tip! Did you know that you can create a similar framed look for your wardrobe using our cover panels? Our interior designers are happy to help you find the right solution.
Which products do I need to create a kitchen with filler panels?
Below, we explain which products you need to create an IKEA METOD kitchen with filler panels and what to consider when planning your kitchen.
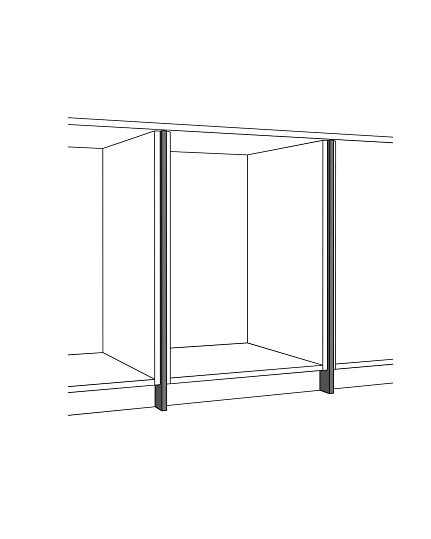
16 mm Filler Panel
The wider filler panel creates a more defined frame and clearer separation between the cabinets. Unlike the narrower version, this panel extends all the way down to the floor.
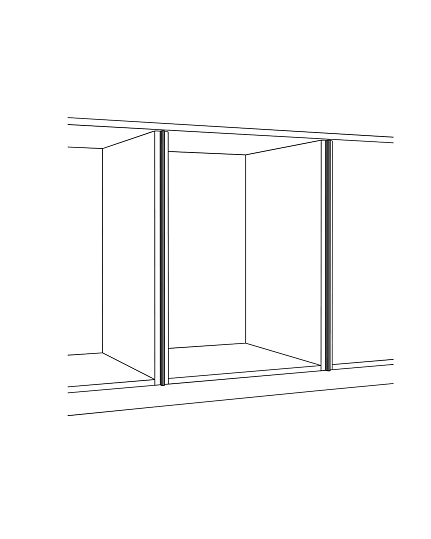
8 mm Lacquered / 9 mm Wood Filler Panel
The narrower filler panel creates a subtle, refined frame around the fronts. As the panel ends at the bottom of the cabinet frame, it can be combined with our standard plinth, regardless of cabinet width.
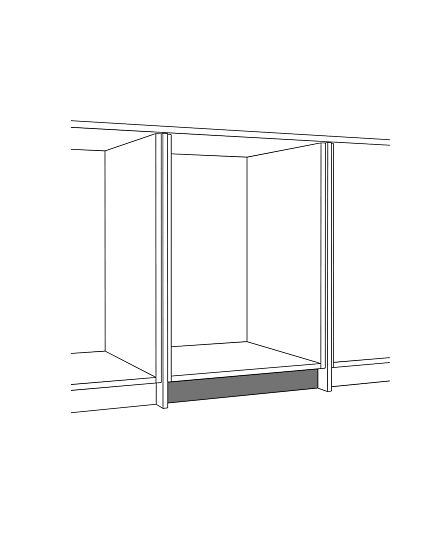
60 cm Plinth
When creating a kitchen with filler panels, we recommend using our 60 cm plinth for cabinet frames of the same width. For 40 or 80 cm wide cabinet frames, use our standard plinth instead, which can easily be cut to the required length.
How to Install Filler Panels
Step 1 – Assemble the Kitchen Cabinets
Assemble the IKEA METOD cabinet frames according to IKEA's assembly instructions. Hang the frames on the wall-mounted suspension rail, but wait before securing them so you can still adjust their position sideways.
Step 2 – Position and Secure the Filler Panels
Position the filler panels so that they align with the front of the cabinet doors. We recommend that the panels extend approximately 19 mm beyond the front edge of the cabinet frame, but the position can be adjusted depending on the desired look.
Pre-drill the panels before screwing them into the side of the cabinet frame. Use a clamp to hold the panel in place during installation, and make sure the screw heads are countersunk to prevent them from damaging the cabinet doors.
Then push the cabinet frames together and secure the panel with screws from the opposite side. Check that the spacing between the frames is even at the back before securing them to the suspension rail. To make adjustments easier, you can use a filler panel as a spacer at the back, against the wall.
Step 3 – Install the Cover Panels
Install cover panels at the outer ends of the kitchen to create a cohesive and carefully finished look.
Step 4 – Install the Fronts and Plinth
Install the kitchen fronts and finish by fitting the plinth into place.